Google+
Showing posts with label Minnie Mouse. Show all posts

Minnie Mouse Ears and Dress for Doll (and Girl) Crafty Weekends Projects and Link Party

Oops!! With the spotty internet on our vacation I missed writing my review for Earth Day!! Be sure to check out tomorrow's post for some great Earth books!!

Disclosure: Target links in this post will give me a small percentage of your purchase at no cost to you. 

After the crazy March we had weather wise and for Steve work wise, I really needed to get away to somewhere warm. Steve on the other hand just wanted to stay home and rest. We decided Hazel and I would go down to Florida (we have a time share there) and he would stay home. Since we were going to be in Florida we decided we would spend a day at Magic Kingdom and a day at Universal Studios. I found this fabric in my stash. It has beautiful flowers and Minnie Mouse heads on it. I showed it to Hazel and suggested I make a dress for her to wear to Magic Kingdom. I used Butterick Pattern 3860 to make her a dress. Since Hazel wanted to bring two of her dolls with us I thought I would make her doll a matching dress. I checked out the patterns I have downloaded and found one that used the slip pattern from Molly's Pretty Clothes. I didn't put on a ruffle and lengthened the pattern for the dress. I also wanted her doll to have Minnie Mouse ears. 

Shed to Clubhouse Transformation


For as long as I can remember Hazel has loved little playhouses. She has really wanted one, but we never got around to getting one. We kept wanting to get her a special one that she would want to use for many years, but we never found the money since those tend to be so expensive. Since we added a garage to our house, Steve has not been storing as much in his shed and decided to give Hazel the shed as her clubhouse/playhouse. She was excited for this and we talked about decorating it with curtains and a rug. While out shopping Hazel chose the pink shag rug for the clubhouse. I pulled out pink sparkly curtains I had bought on clearance and planned to use for a birthday party, but never did. We hung them with a thin branch from a tree that had fallen in the yard and used nails to keep them up. 

Minnie Mouse Party Foods and Activities -- The Details


Since the my post the other day became so long with sharing our decorations, I thought today I would share the details of what we served and what the kids played. Let's start with the cake since every birthday party needs a cake. Our cake was the strawberry cake we have made for most of Hazel's parties. The original recipe is found at Confections of a Foodie Bride. I have made changes over the past couple of years. At some point I will have to actually write down my changes and post about them. We made an eight-inch round cake and three small round cakes. I bought these pans at Joann Fabrics with a coupon for the ears.  We bought a container of chocolate frosting since black frosting is hard to come by and has so many chemicals for colors. 

Minnie Mouse Party & Decoration Product Review


 Disclosure: I was sent the decorations to review free of charge from Oriental Trading. All opinions in this post are my own. I did not receive any other compensation for this review. I added links to the particular products for your convenience, but not for any compensation.


So yesterday was the Minnie Mouse Half Birthday Party. Hazel had a blast. Now we spent a lot of time getting ready for this party and have posted many DIY ideas already. We also received five items from Oriental Trading that we used for the party. A few weeks ago we shared our Minnie Pinata and the black streamers we used to make it.

Minnie Mouse Birthday Party--DIY Decorations

For Hazel's half birthday party, I have some store bought Minnie Mouse decorations and some from Oriental Trading to review that Hazel picked out. However, I wanted to keep costs down and make some of our own. I have seen so many fun ideas online and have been pinning them to my Minnie Mouse Party Pinterest Board. I loved the idea of making Minnie head decorations from styrafoam balls. The first time I saw this was on The NY Melrose Family's Minnie Mouse Centerpieces. We did this. I glued them and Hazel painted them black. After the paint dried, I stuck a lollipop stick into each one.

Minnie Mouse Party Food

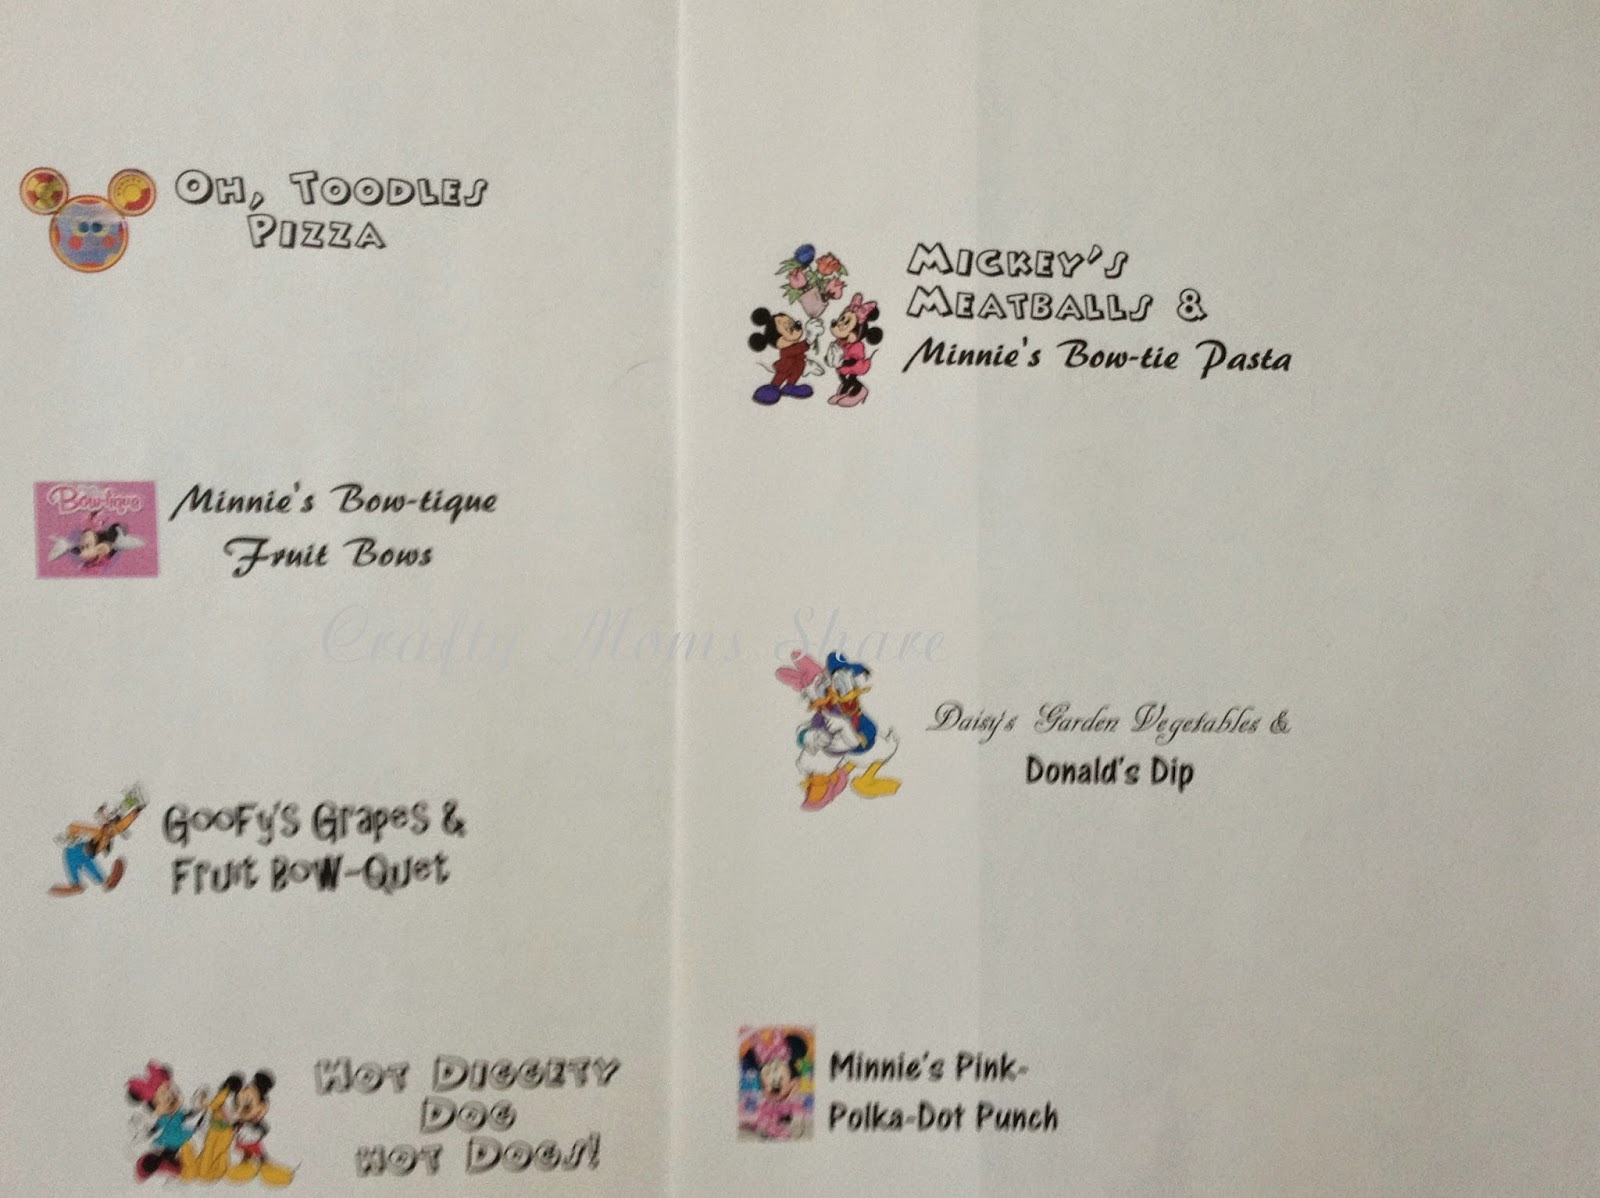
 So the party is this weekend and we finally figured out what to serve. Our menu includes:
  • Minnie's Bow-tique Pasta
  • Mickey's Meatballs
  • Hot Diggety Dog Hot Dogs
  • Oh, Toodles! Pizza
  • Daisy's Garden Vegetables and Donald's Dips
  • Goofy's Grapes and Fruit Bow-quet
  • Minnie's Bow-tique Fruit Bows
  • Minnie's Pink Polka-Dot Punch
  • And of course a Minnie Cake!

DIY Pin The Bow On Minnie Mouse Game


We have been working on final things for the Minnie Mouse party. It is this weekend! Today among other things, I made the Pin a Bow on Minnie Mouse game. Hazel really wants to play this one! To make it, I used a piece of black poster board, a white piece of paper and some polka-dot cardstock (I found it at Target). I used a large bowl and a small/medium bowl to make the head and a yellow-green colored pencil to show up on the black poster board. On the back of the poster board I traced the large circle bowl. Then I put the small bowl roughly where I wanted an ear and I had it overlap the large circle just a bit and traced it. Then I put it on the other side for the other ear. Once I got it how I liked it, I cut it out.

DIY Easy Minnie Mouse and Mickey Mouse Cake Plates & Free Food Label Printables

So when I bought all the Minnie Mouse stuff on clearance I did not get cake plates. I had pink cake plates we could use and Hazel was willing, however I kept seeing plates with ears on them as I researched for ideas. I realized how easy it would be to make them. I bought a pack of black cake plates at the Dollar Tree. Supplies to make the Mickey Mouse plates is just a pack of plates, black construction paper (two large sheets gave me enough ears for sixteen plates), a 3-inch circle punch and a glue stick.

I decided to use glue stick instead of craft glue so there would not be excess on the plates. To make Minnie Mouse plates you also need pink polka-dot paper (I found a pack of bright polka dot paper at Target--it was the only place I could find any) and scissors. I used the free jpg of bows at The Lovebugs Blog: Lovebug's Bow-tique Birthday Party.  Since I got them as a jpg, I was able to shrink the size for the plates. I am providing the new size of bows, but go check out her site for other great printables!! Here are the bows I used.


To make the plates, just punch two ears for each plate. I folded my large construction paper in half and did both sheets at a time so I got enough for two plates each time. Take two circles and put a little glue on one edge. Then glue to plate in appropriate places. Hold for a few seconds since it takes a bit of pressure to get the glue stick to stick. Let dry and do the next one. These will give you Mickey Mouse cake plates.


Mickey Mouse Cake Plate
(Sorry for the poor quality picture. My camera is acting funny!!) To make Minnie Mouse print out the bows using the template shared above on your bow paper and then put a small amount of glue stick on the back bottom edge of the bow and hold in place on the plate. You could also glue a ribbon bow on, but this would take longer and seeing how they are cake plates that will end up being messy and thrown away, I didn't think it was worth the expense or time.


I think they look cute and Hazel loves them! Since we are talking cake plates, I thought I would share our food labels with you as well. I will explain the food that goes with them in another post. I gave Hazel the choice of two types. I am providing you with both!  Just click picture for each type.


https://drive.google.com/file/d/0B8PVW7zBWFxscUd1UTc4T1JFejQ/edit?usp=sharing
Food Labels Using Characters and Clip Art Found On-Line


https://drive.google.com/file/d/0B8PVW7zBWFxsSHI4NUY0d3d3Yk0/edit?usp=sharing
Mickey & Minnie Mouse Food Labels
To make the Minnie Food Labels, I added bows again. I used the same template, but slightly larger. You can find them here.

So that is our newest installment of our Minnie Mouse Birthday Party series! For more posts check out:


DIY Minnie Mouse Pinata & Free Party Activty Sign Printables

Disclosure: I was sent the black jumbo streamers to review free of charge from Oriental Trading. All opinions in this post are my own. I did not receive any other compensation for this review.


Mickey and Minnie Mouse Tote Bag Craft

So for Hazel's actual birthday party we had received these wonderful yellow tote bags from Oriental Trading for us to review. Our plan had been for guests to make handprint flamingos on them, however the guests did not want to, so we still had many of the bags. I thought they would be great favors and we could paint Mickey and Minnie Mouse heads on them. My original idea was to get a large sponge and cut it in the shape of a Mickey Mouse head, however I could not find a sponge large enough. Then I thought of the bottom of cups or plates or jars. I tried a few and asked Hazel which size she liked best.

DIY Mickey and Minnie Mouse Ears and Free Printable Party Signs


Our next craft for the Minnie Mouse themed upcoming party is ears of course. I tried to make ears last year before we went to Disney World. However they came out floppy. I decided to go back and figure out what I did wrong. I followed the tutorial at The Suburban Mom: How to Make Mickey Minnie Mouse Ears for a Party. She provides a free downloadable pattern. I used this pattern with some adjustments. I found the space between the two circles was too big for the size headband I used. I folded my pattern a bit to shrink it. This definitely helped in getting them to stand up. I also used the foam this time. I used two pieces of sticky foam and I used my 3-inch punch to make the circles instead of her pattern (which is a 3-inch circle).

DIY Minnie Mouse Napkin Rings for Party

Well, Hazel's half birthday is at the end of June. Because of school ending mid-June and some of her friends take off for the entire summer the day school is out, we are having her half birthday party in the beginning of June. (We decided to have a half birthday party for her since her birthday is in the middle of December holiday season.) She decided ages ago that the theme for this party will be Minnie Mouse. (Unfortunately there many more boys in her class than girls, but they will have to deal with lots of pink.) When she made the decision last summer, it happened to be when they were changing the Minnie Mouse theme party supplies and I was able to buy a bunch on clearance. We got the invitations and thank you notes, dinner plates, plastic cups, and a banner as well as treat bags. As we were looking at what we have and do not have, we decided we could use some of the other supplies we have and do some do-it-yourself projects. Today's is a simple one. I did not buy any of the napkins and decided not to buy special napkins. I did however have some bright pink napkins left over from her flamingo party (well actually I bought them for either party). Since this is her first child-focused birthday party, it is a lot of fun to plan.

As I was looking at ideas on line, I thought of making individual silverwear settings with a Minnie Mouse head on a napkin ring. I bought one of those Mickey Mouse head punches ages ago with a coupon and when I opened it yesterday, it did not work. Ugh!! Then the idea came to me to use pom poms. I searched for black pom poms last night and found three. I found some pinkish polka dot scrapbook paper and cut some strips. Then I glued the two smaller pom poms onto the bigger one and got a Mickey head. Then I glued the whole thing to the paper. (This was my first one and of course I had the head spinned in the wrong direction, but it was actually easy to spin after it dried.) I left it out to show Hazel and of course she asked if we could add a bow to make it a Minnie head. I explained I just didn't have the ribbon yet. Today I went to Michaels and bought two pacakges of black pom poms (small and the next size), some skinny pink ribbon and I found some cell phone charms shaped as bows in a clearance bin. I showed Hazel how to make the Mickey heads and she glued most of them for me though she did say it was boring. I poked the plastic charms through the paper to add the cell phone bows.

Then I wrapped a spoon and a fork in a napkin and wrapped the holder around it and sealed it with a piece of scotch tape. Didn't they come out cute?

If you do not have the cute bow cell phone charms, a small ribbon bow works great as well. The hardest part is tying the bow. Then you just glue them on. This is actually easier than the others since the others are a pain to poke through and get to stay in (I didn't want to glue them in case anyone actually wants a bow cell phone charm) and they break rather easily. I made a few of these as well since I only found ten of the charms (five packages of two at forty cents each).

Now we are set to have the tables set for the kids and possibly for the parents though I probably will need to make a few more. Since she wanted a Minnie and Daisy theme, I used lavender plasticware.


I think they look great with the Minnie plates. What do you think?

Looking for more Minnie Mouse ideas? There will be more coming between now and the party and you can also check out:

Minnie Mouse


Today we went to a Minnie Mouse birthday party. The party was for the daughter of Hazel's godparents. She turned two and LOVES Minnie. I figured Hazel should have the right clothes for it. I saw on A Girl and a Glue Gun this adorable shirt and on Disney Family the tutorial for the Minnie ears (and Mickey ears).

We had a red child's t-shirt, so I made the Minnie face black. I took the pattern for this Mickey tote bag and blew it up until it was the size I wanted it. I used my machine and zig zagged it on without worrying about finishing the edges and then added a red polka dot bow. She wore her red tutu since I didn't get around to making her a skirt like I had planned.


Then the ears are very easy. They provide you a pattern and you make them with a headband, glue and felt. I added some cardboard to try to stiffen them a bit more. They still need some more stiffening, but they worked for the short time she wore them. The party was outside so she had her Minnie Mouse sunhat on most of the time. Needless to say her outfit was a hit at the party. Oh she also had on her Minnie shoes that her grandmother bought for her at Target to finish off the outfit. Here are some other ears I made as well.